Starting and Finishing (eventually)
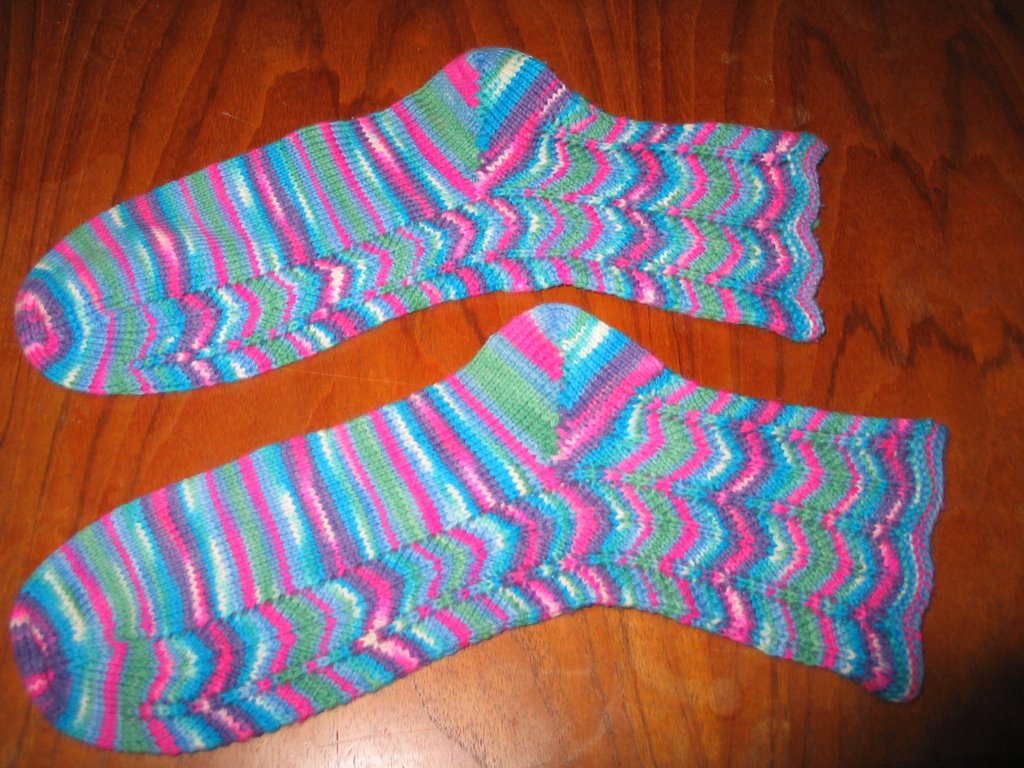
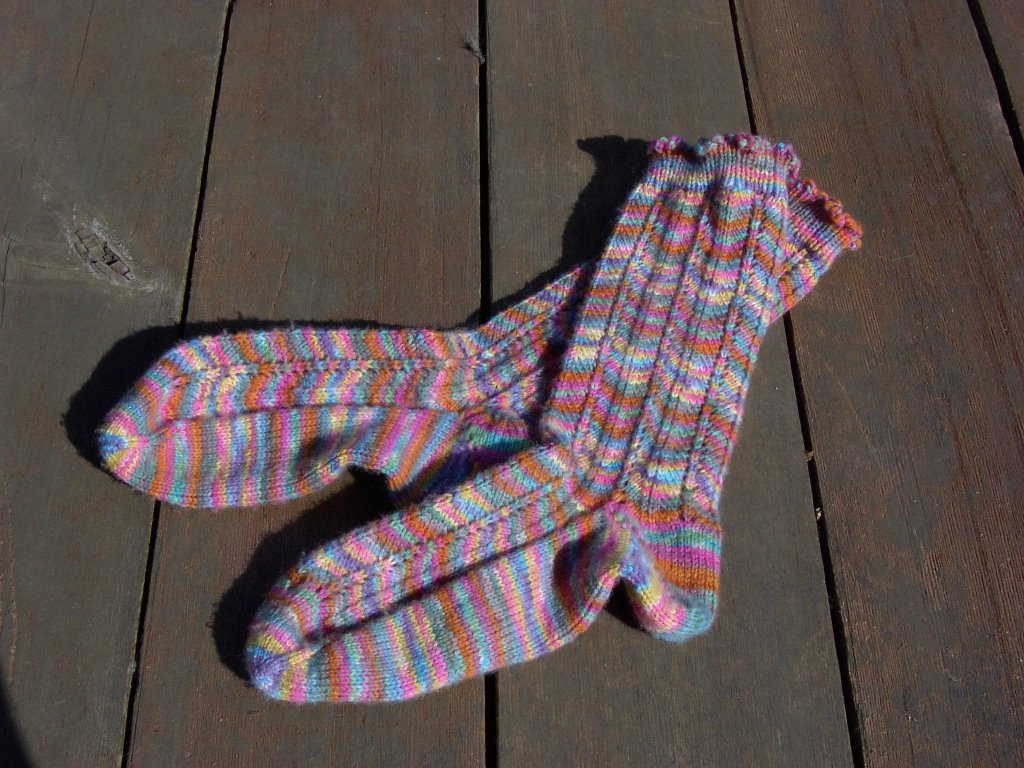
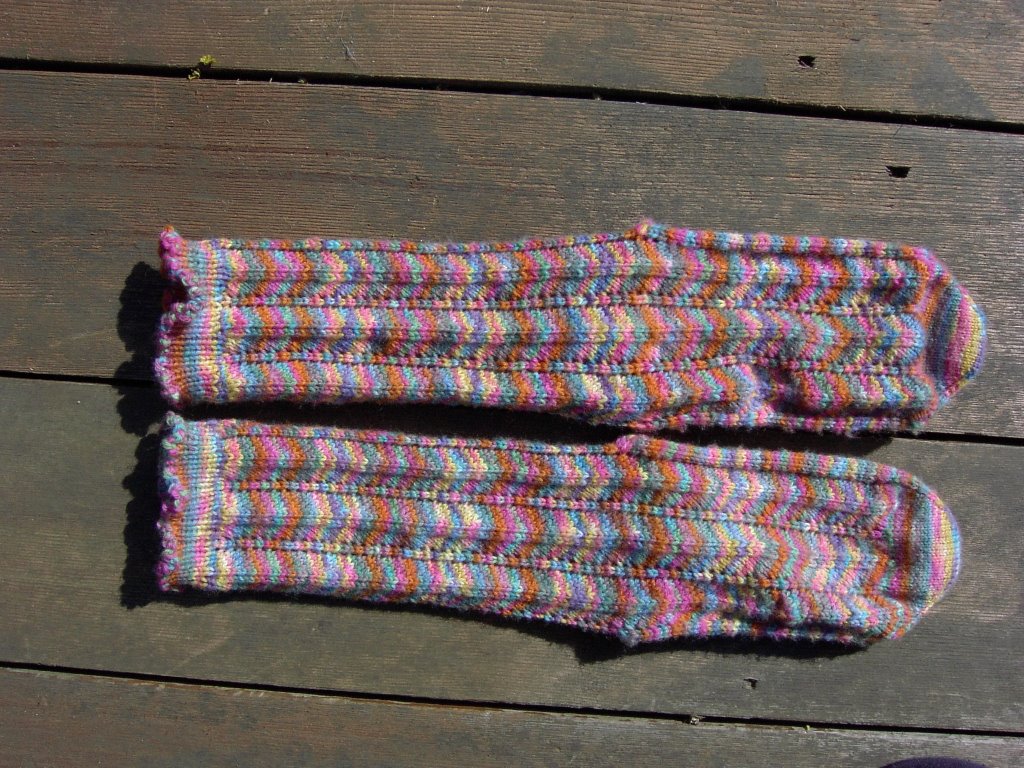
We all seem to have projects that take us forever to finish and, occasionally, others that are created with a specific imminent deadline that actually are completed to meet that deadline. For me knitting projects are more likely to fall into the first category. (This is not the case for certain members of TBC members who are much more diligent knitters than I.) Weaving projects seem to take longer in the design phase but once on the loom, the actual weaving goes more quickly.
I completed two projects in October - one in each category. The first was The Bees and Ladybugs sweater set for Rusty's granddaughter (when I started the project it was for a grandchild, gender not yet known, so this pattern appealed to me as being OK for either a baby girl or boy).
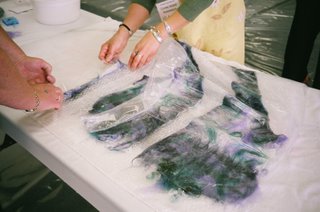
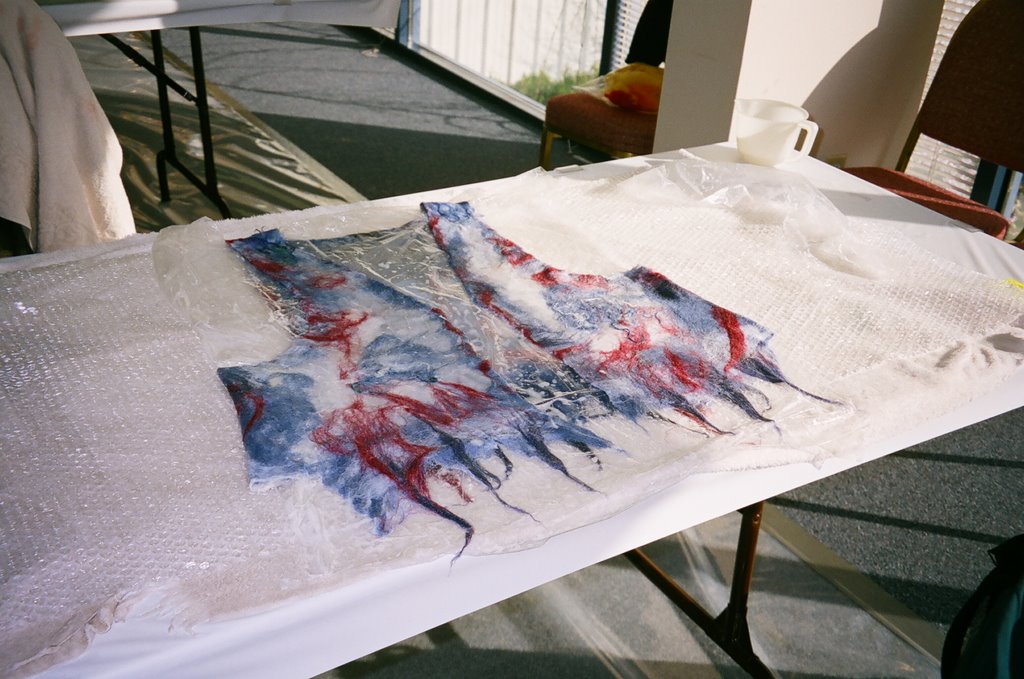
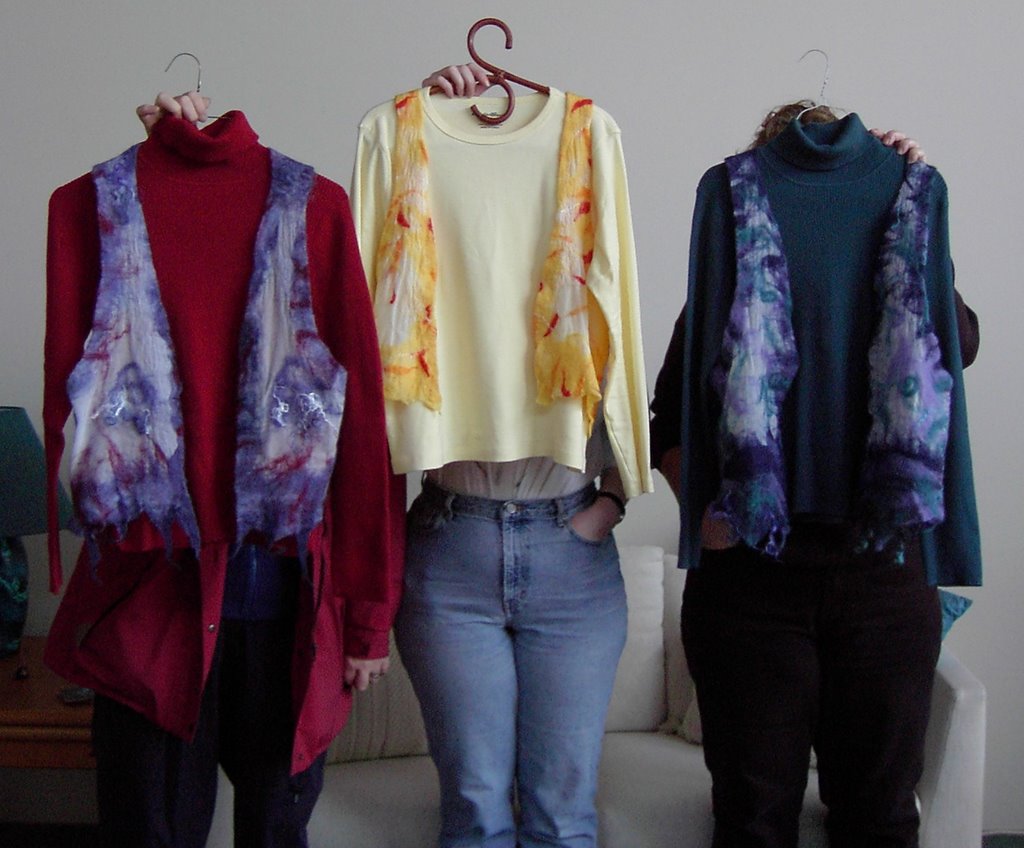
 Now on to finishing the magical mitered vest and starting the FATCards! When are they due? I think I need a deadline.
Jade
I completed two projects in October - one in each category. The first was The Bees and Ladybugs sweater set for Rusty's granddaughter (when I started the project it was for a grandchild, gender not yet known, so this pattern appealed to me as being OK for either a baby girl or boy).

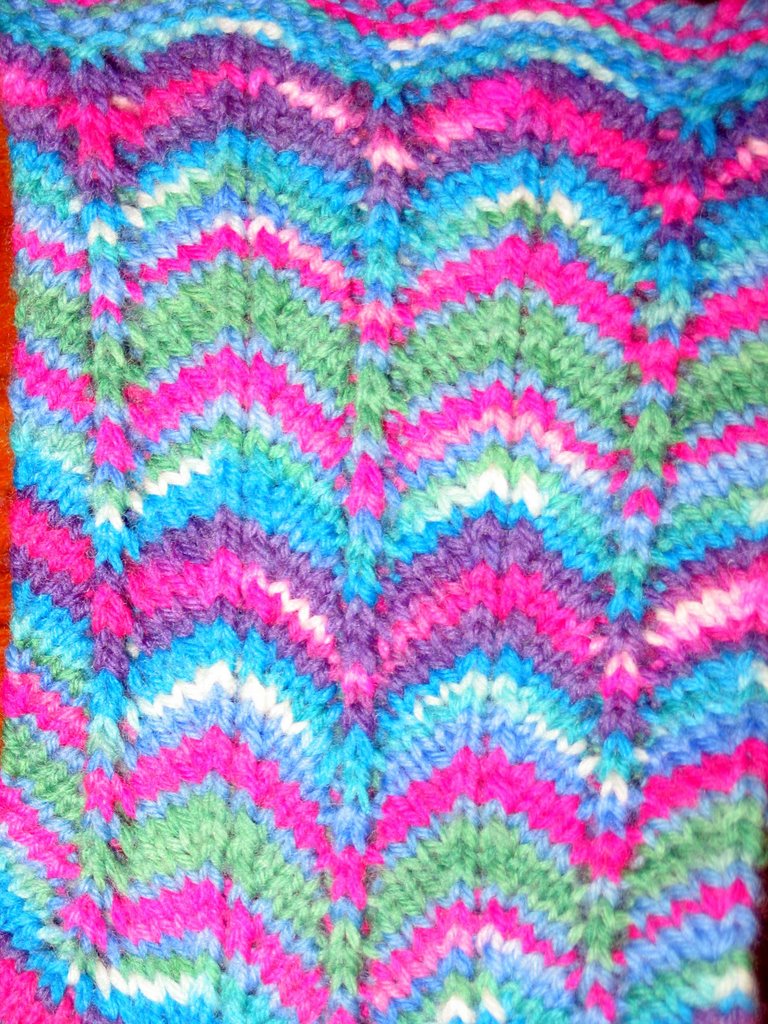
It went with me on my travels this summer, a very portable project with enough variation to keep up my interest. However, the fairisle pattern was challenging and the sections that required knitting with three colours in a row were very slow to knit. I now see that my LYS is offering a class in fairisle knitting - where was that 6 months ago!
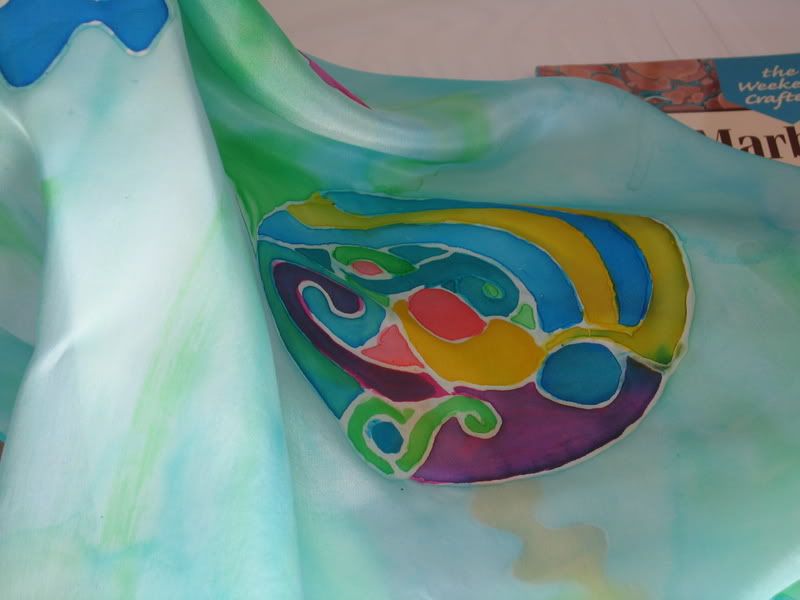
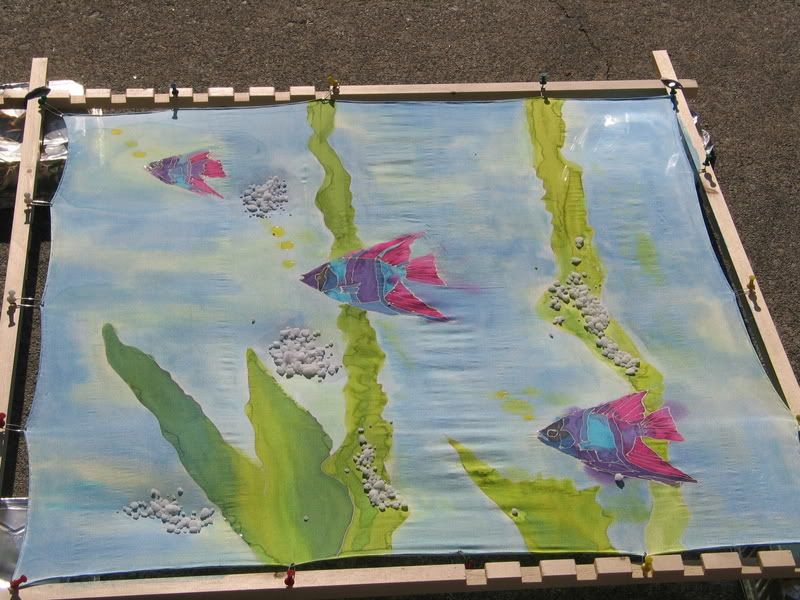
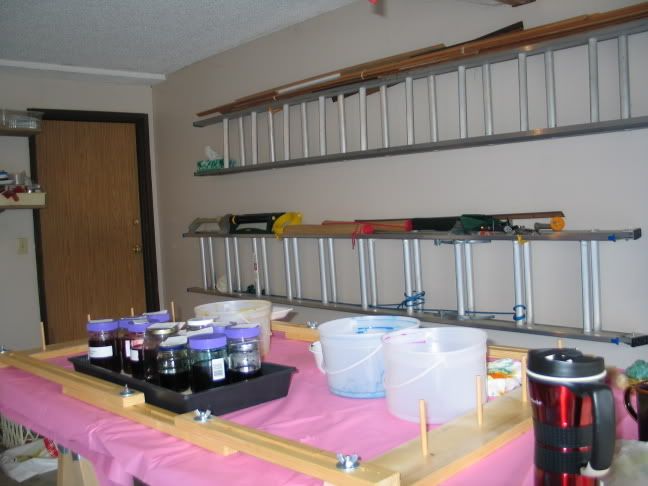
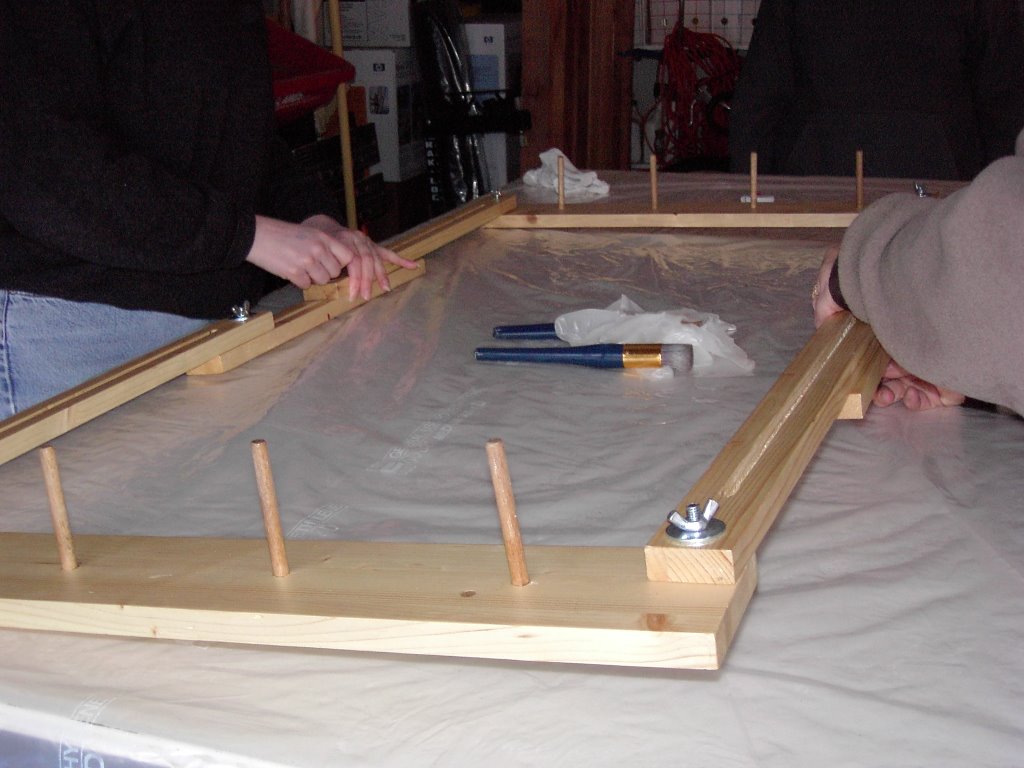
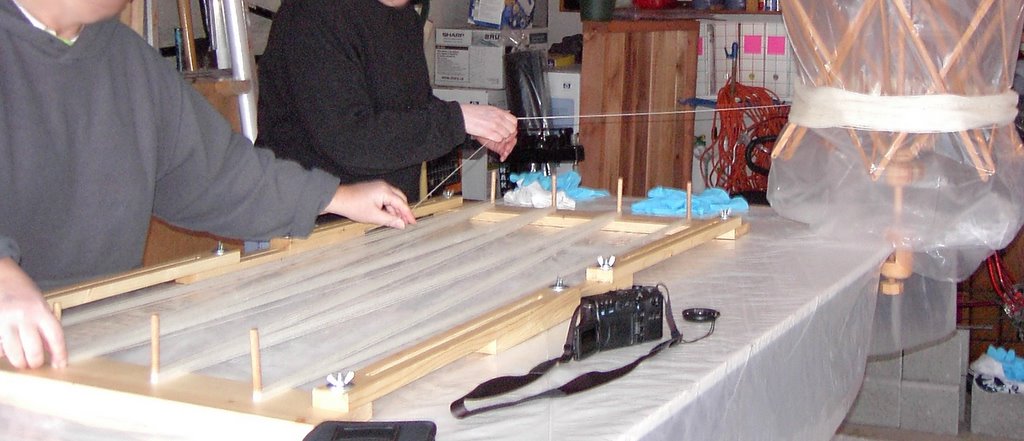
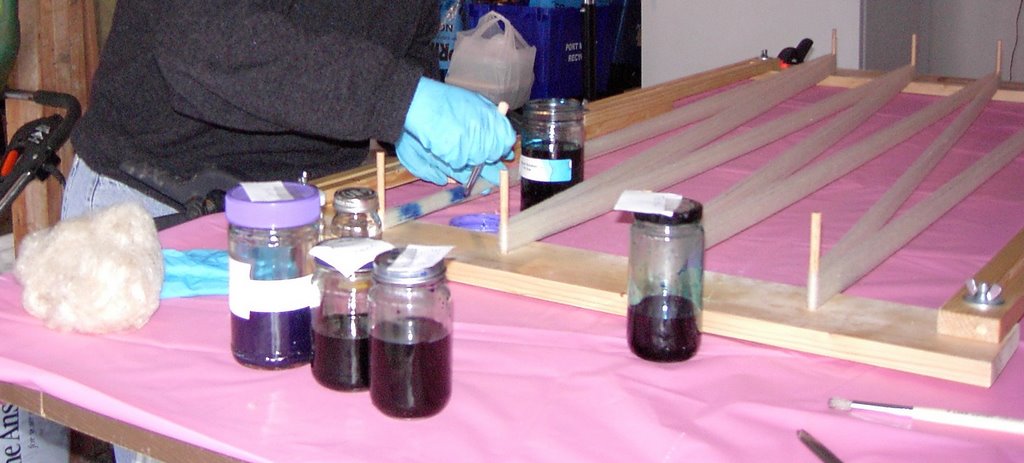
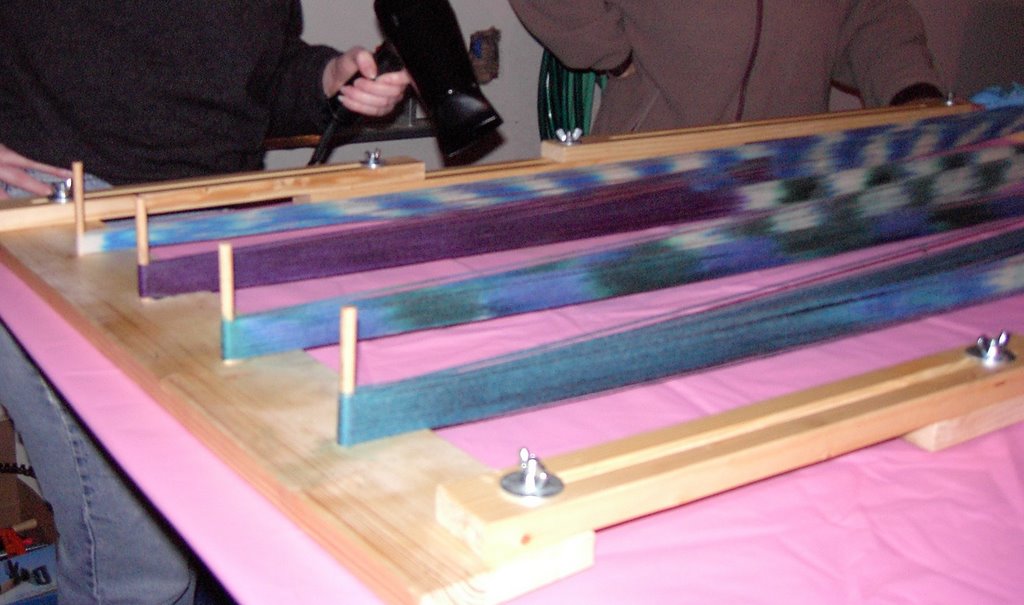
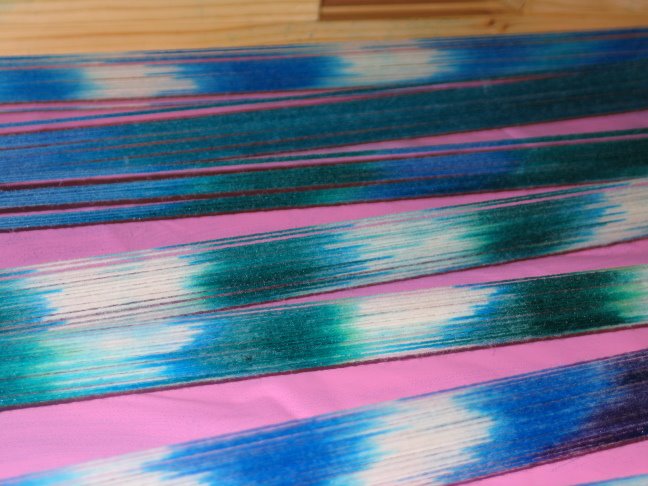
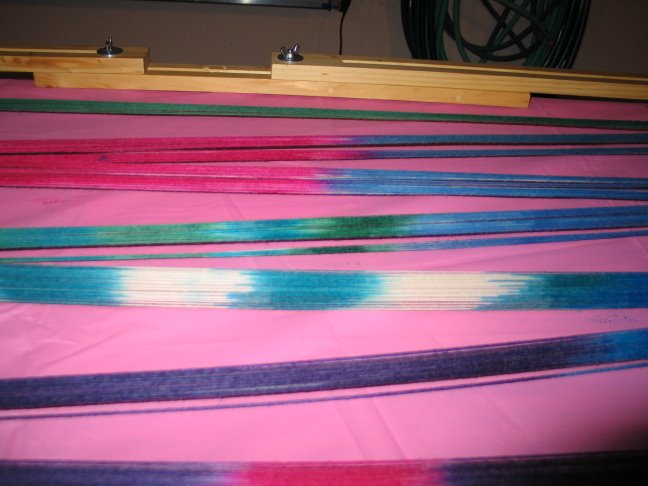
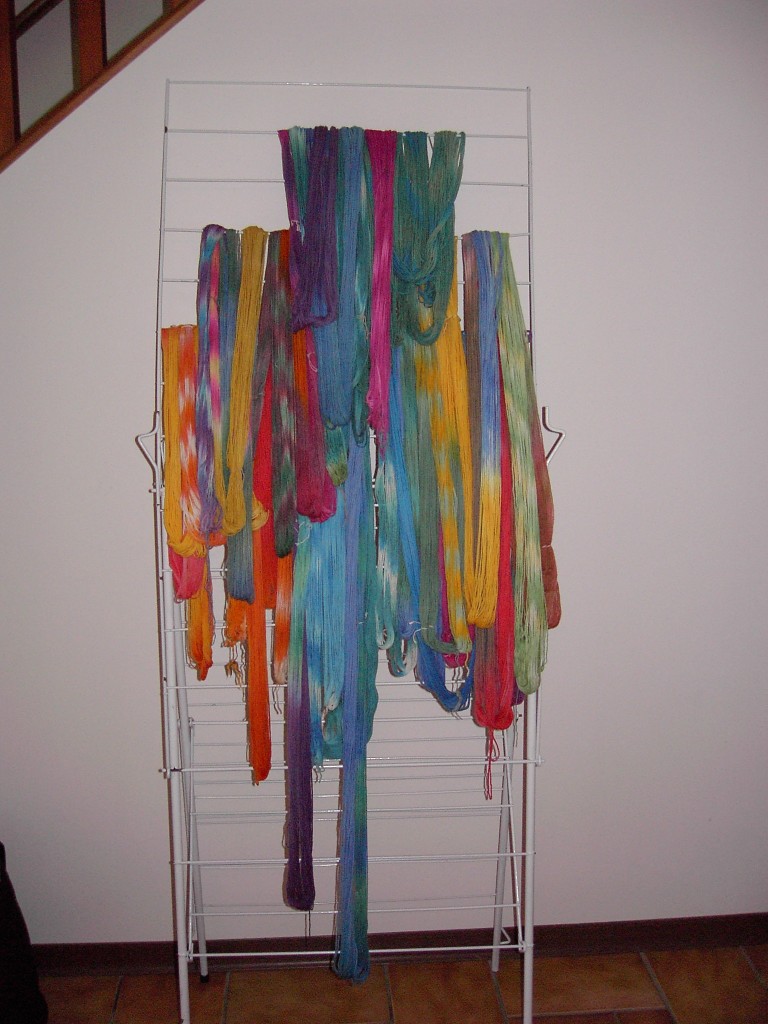
At the beginning of October I decided I wanted to weave something to donate to the United Way silent auction at my workplace. I thought that having a deadline to meet would force me to finally use some the bamboo yarn that I had been collecting in my stash for the past couple of years. I picked a design of Pat Boswell's from the Weavers Book of 8 Shaft Patterns (one that had also been used by the GVWSG for their bamboo sample for the GCW swatch collection and also a scarf purchased by Amber's husband Amethyst at the Peace Arch Guild show and sale. The loom was warped on October 19/20 and I finished twisting the fringe while handing out the Halloween candy on the 31st. When the auction concluded on November 8th, I has happy to see the scarf go to a colleague who was taken with it's softness and lustre and wears colours from the same palette.
At the beginning of October I decided I wanted to weave something to donate to the United Way silent auction at my workplace. I thought that having a deadline to meet would force me to finally use some the bamboo yarn that I had been collecting in my stash for the past couple of years.
 I picked a design of Pat Boswell's from the Weavers Book of 8 Shaft Patterns (one that had also been used by the GVWSG for their bamboo sample for the GCW swatch collection and also a scarf purchased by Amber's husband Amethyst at the Peace Arch Guild show and sale. The loom was warped on October 19/20 and I finished twisting the fringe while handing out the Halloween candy on the 31st. When the auction concluded on November 8th, I has happy to see the scarf go to a colleague who was taken with it's softness and lustre and wears colours from the same palette.
  Now on to finishing the magical mitered vest and starting the FATCards! When are they due? I think I need a deadline.
 Jade
posted by Twisted By Choice at 4:26 p.m.
1 comments
![]()


